
But the one thing we do well are cakes. They're not professional. They're always amusing. They generally taste pretty darn good. And they always end up costing three times what a store bought cake would have because of waste, extra decoration purchasement, and other misfires. Here are a few fun examples from the past: the ice cream sandwich cake (it was way too hot to cook last year), the Indiana Jones snake cake, the bike cake, the Iron Man cake.
This year Ben wanted a video game controller cake, and, since we were bored with time and money we decided to construct one ourselves. It all sounded so simple... but by the third time I had broken down into near-tearful hysterics because I couldn't make icing the right color gray, well, I decided this was a blog-worthy adventure.
 So, here you go:
How to Make an NES Controller Cake - Morningstar Style
Drama by Jamie
(Most) Photos by Sam

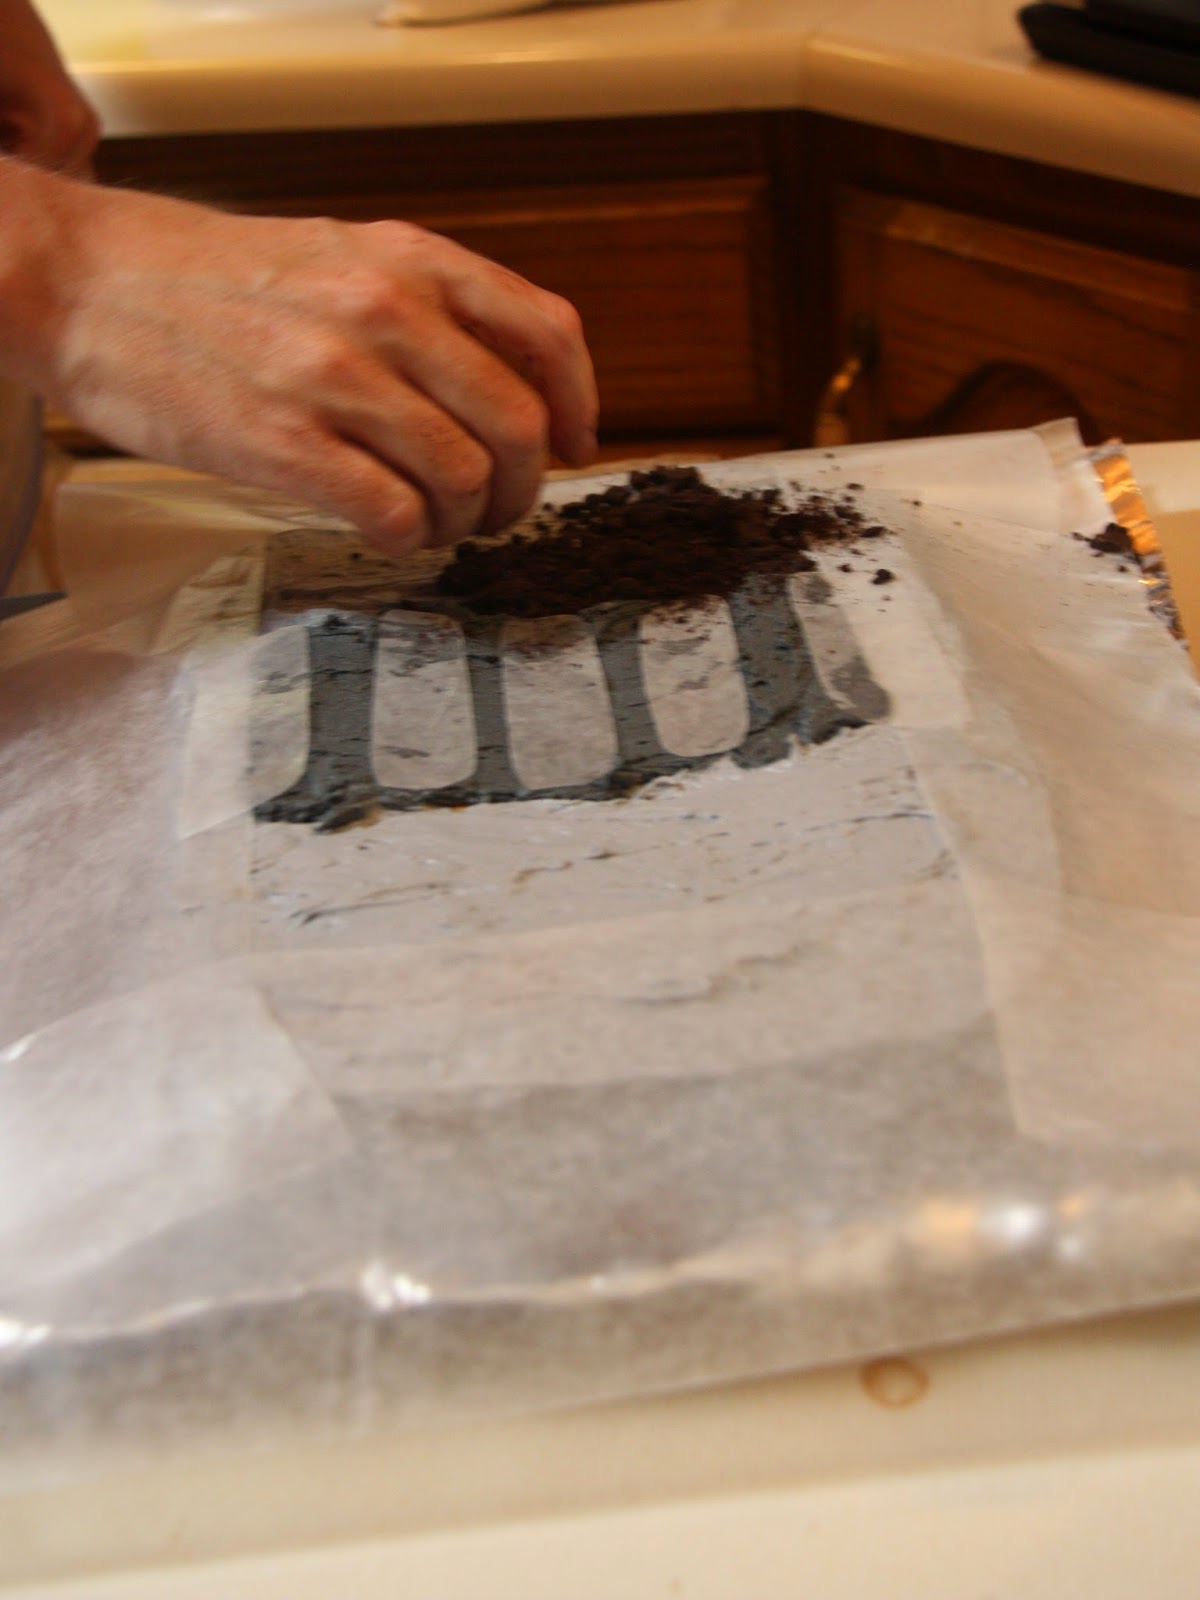
You'll need to leave this image open on your iPad but, since the cake will take approximately 4 hours to finish, your iPad will keep timing out. So of course you'll keep pushing the power button with icing-covered fingers. Your husband will not appreciate this dedication to your craft. You'll patiently explain that you have a degree in Computer Science, thank you very much, and know for a fact that buttercream icing is good for electronics.
Step 2 - Make a white cake. From scratch. This step doesn't even deserve photography because it's so simple. Seriously, there is no reason to buy a white cake mix. And extract the cake from its pan without incident (this is a minor miracle, usually I have to paste it back together with icing, but this time the cake came out clean! I should have known it was just lulling me into a false sense of security).

Step 3a - Go to Smith's to pick up cake making supplies, such as five different possible materials you could use to make red buttons (this is why your cakes cost three times the price of store-bought cakes), Cocoa Krispies to make the black background, and Swiss Rolls for the d-pad.
Step 3b - Realize that you had no real conception of scale or color when you purchased said supplies and also forgot the black food coloring to tint the icing so go back to Smith's to pick up some Kit Kats for the buttons and black food coloring. Approach panic when you realize that Smith's doesn't sell black food coloring. Go to the bakery where they agree to sell you a cup of black frosting for 25¢ that you can blend into your icing to color it. Feel pretty smug. (I'm skipping the part where the checkout clerk doesn't believe that the Kit Kat Dark that you purchased was 44¢ not 89¢ and you have to show it to him on the shelf and then explain to him how to void an item.)
Step 3c - Make a double recipe of icing because it always pisses you off to feel like your icing supplies are constrained. When it's at a good consistency and you and then entire kitchen are covered in powdered sugar, add a dollop of black icing from the Smith's bakery. Blend it in and realize, with horror, that it's way too dark. Add all of the rest of the powdered sugar in the house to the mixture and realize that you now have about 3 pounds of way too dark gray icing. Break down a little.
Step 3d - Go back to Smith's for more powdered sugar and Oreo cookies because the Cocoa Krispies are too light and so the kids ate them for breakfast. Think with gratitude that at least you're only 1/2 mile from the grocery store and at least you're getting your biking miles in today. Hear Dave Ramsey's voice in your head judging you for charging $1.55 worth of powdered sugar on your credit card because you forgot to grab cash. Mutter "F you, Dave Ramsey," which probably doesn't further endear you to the check out clerk that you trained on item voiding to get 40¢ off of your Kit Kat Dark earlier that morning.
Step 3e - Make yet another batch of icing using the same beaters. The dark gray icing left on the beaters will be just enough color to make light gray for the controller. You now have 5 or 6 pounds of gray icing in various shades and experience no little pride knowing that you could easily ice 10 cakes. Not a bad morning's work! But no time to rest or eat icing by the handful - it's only an hour until the party and so far all you've done this morning is make disgusting amounts of disgustingly colored icing!!!


And smile that your kids really do genuinely think that the cake you made is cool.

No comments:
Post a Comment